Hey there! If you’re anything like me, you love spending time outdoors, and what better way to enhance your outdoor experience than by building a gazebo?
A gazebo is a great addition to any backyard or garden, providing shelter from the sun, rain, or other elements while creating a cozy and inviting space.
Plus, with a little DIY know-how, you can easily learn how to build a gazebo tailored to your specific needs and preferences. In this article, I’ll guide you through building a gazebo from start to finish, sharing tips and tricks along the way.
Whether you’re a seasoned DIY enthusiast or a beginner looking to take on a new project, this guide has everything you need to know to create your outdoor oasis. So, grab your tools and let’s get started!

How to build a gazebo? A Proper Step by Step Guide
Now that we’re excited to build our gazebo, let’s dive into the step-by-step process of how to build a gazebo for real.
Building a gazebo may seem daunting, but with some planning and effort, it’s doable for the average DIY enthusiast.
In this section, I’ll walk you through building a gazebo from start to finish, covering everything from planning and design to foundation and framing, roofing and siding, and finishing touches.
Step 1: Planning and Design
Before you start building your gazebo, it’s important to take the time to plan and design the structure. This includes selecting the right location, obtaining necessary permits, creating a design plan, and gathering tools and materials. Let’s have a look at these aspects in detail:
Choosing the right location
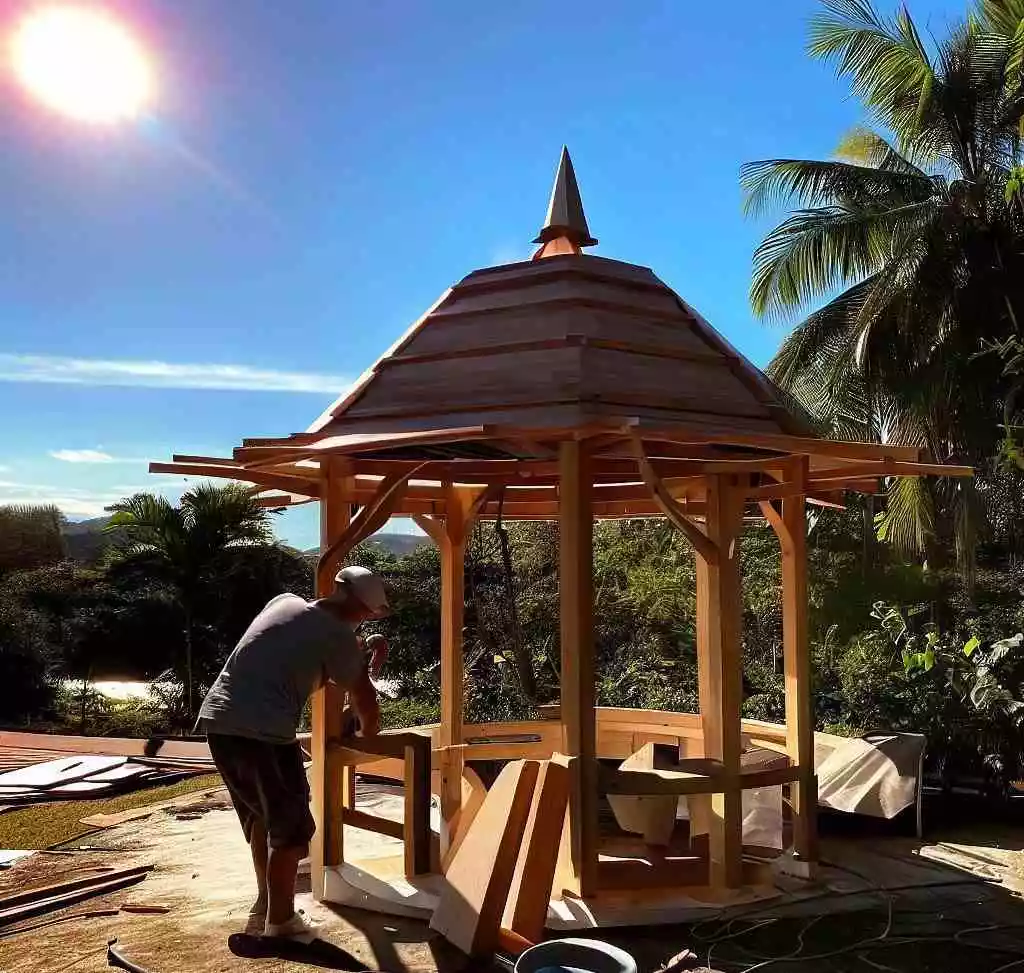
The location you choose can have a big impact on your gazebo’s overall look and feel, as well as its functionality and safety. Here are some factors to consider when choosing the right location for your gazebo:
- Terrain: The terrain of your backyard or garden can affect the stability and durability of your gazebo. If you have uneven or sloping ground, you may need to level the site before building your gazebo. This can add additional time and expense to the project.
- Accessibility: Consider the accessibility of the location. Will you easily get to the gazebo from your home or other parts of your property? If not, you may need to add walkways or paths to ensure easy access.
- Proximity to Utilities: Think about the proximity of your gazebo to utilities like water, electricity, and gas. If you plan on using your gazebo for entertaining or cooking, you may want to consider adding utilities to the site. However, this can add to the cost of the project.
Another factor to consider is the overall look and feel of your backyard or garden. You’ll want to choose a location that complements your landscaping and outdoor decor while providing a comfortable and functional space for your gazebo.
Obtaining necessary permits
Depending on where you live, you may need to obtain permits before building your gazebo. It’s a good idea to research your local building codes and regulations to ensure that you comply with all requirements.
Building codes and regulations can vary depending on your location and the type of structure you want to build. Some common requirements for building a gazebo may include minimum setback distances from property lines, minimum height and size requirements, and foundation and anchoring requirements.
Obtaining a permit to build a gazebo typically involves the following steps:
- Research local building codes and regulations: You can usually find this information on your local government’s website or by contacting your local building department.
- Submit a permit application: Once you understand the requirements, you can submit a permit application to your local building department. This may involve filling out a form and providing detailed plans and specifications for your gazebo.
- Pay permit fees: In most cases, you’ll need to pay a fee when submitting your permit application. The permit cost can vary depending on your location and the size and complexity of your project.
- Wait for approval: After submitting your permit application and paying any necessary fees, you’ll need approval from your local building department. This can take several weeks, so it’s important to plan.
Creating a design plan
Once you’ve chosen the right location and obtained any necessary permits, it’s time to start thinking about the design of your gazebo. Creating a design plan can help you visualize the final product and ensure it meets your needs and preferences.
Here are some factors to consider when creating a design plan for your gazebo:
- Size: The size of your gazebo will depend on your yard’s available space and intended use for the structure. Consider the number of people using the gazebo at one time and any furniture or features you plan to include.
- Shape: Gazebos come in various shapes, from octagonal to rectangular to square. The shape you choose will depend on your style and the available space in your yard.
- Style: The style of your gazebo should complement the overall design of your yard and home. Choose a style that fits your taste and your property’s existing architecture.
- Features: Consider any additional features you want to include in your gazebo, such as built-in seating, lighting, or even screens to keep out insects.
There are many software and tools available to help you design your gazebo. Some popular options include SketchUp, a 3D modeling tool that allows you to create detailed plans and visualizations. Then there’s Canva, a graphic design tool that can create gazebo plans and renderings.
Alternatively, you can create a design plan by hand using graph paper and a pencil. This can be a simple and effective way to visualize your gazebo and make necessary adjustments before beginning construction.
Gathering tools and materials
Before beginning construction on your gazebo, gathering all the necessary tools and materials is important. The right tools and materials can help ensure a smooth and successful building process.
Here’s an overview of some of the necessary tools and materials for building a typical gazebo:
When selecting materials for your gazebo, choosing high-quality, durable options is important. Pressure-treated lumber is popular for outdoor structures because it resists rot and insect damage. Choosing roofing and siding materials that can withstand exposure to the elements is also important.
Tools:
- Hammer
- Circular saw
- Drill
- Level
- Tape measure
- Chalk line
- Post hole digger
- Concrete mixer
- Concrete mix
- Water
- Wheelbarrow or mixing container
- Shovel or hoe
Materials
- Lumber (pressure-treated for outdoor use)
- Concrete mix
- Brackets (sturup or L shaped)
- Post anchors
- Screws and nails
- Plastic spacers
- Plastic Packers
- Roofing material (shingles or metal)
- Siding or trim
- Hardware (hinges, handles, etc.)
- Rebar (optional)
- Wire mesh (optional)
The amount of materials needed will depend on the size and design of your gazebo. For example, an average-sized gazebo with an octagonal shape and a diameter of 12 feet may require:
- 8 pressure-treated 4×4 posts (8 feet long)
- 16 pressure-treated 2×6 boards (12 feet long)
- 24 pressure-treated 2×4 boards (12 feet long)
- 5 bags of concrete mix (80 pounds each)
- Roofing material (shingles or metal) and associated hardware
- Siding or trim and associated hardware
Step 2: Building the Foundation
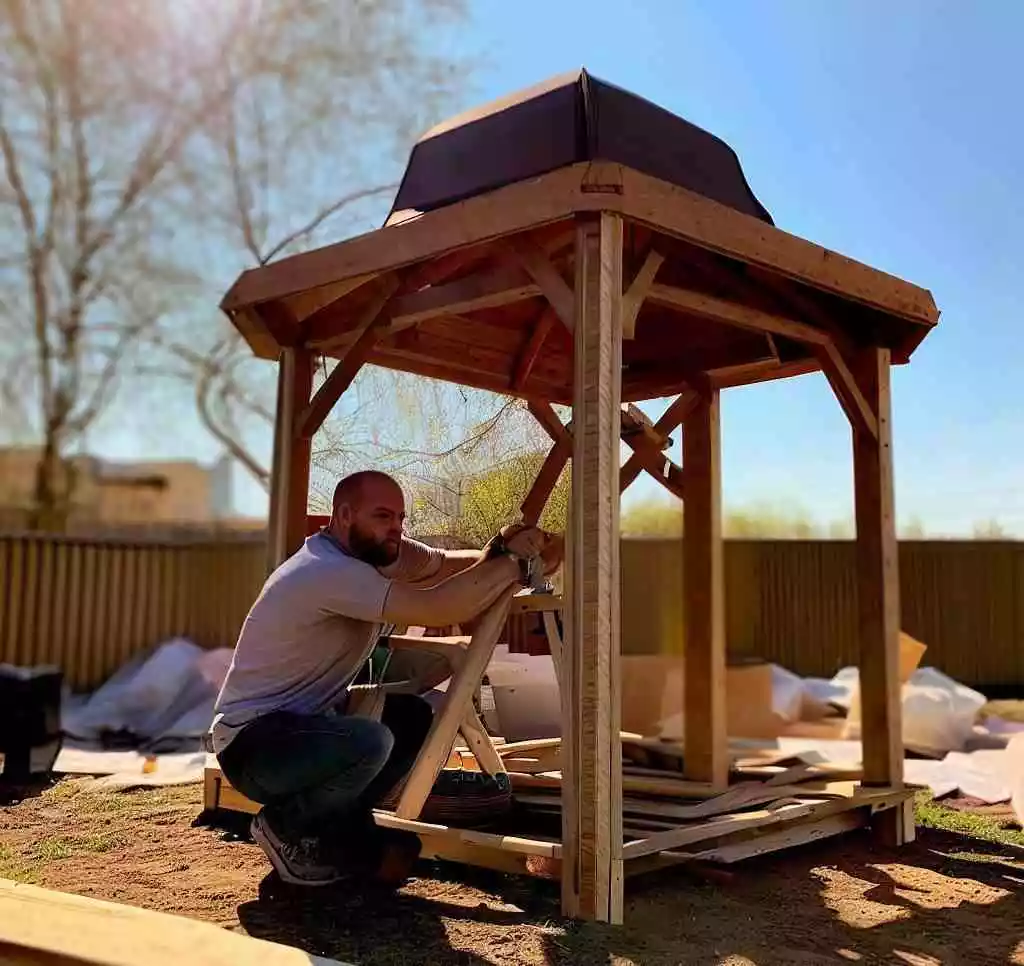
The foundation is one of the most important parts of your gazebo, as it will support the entire structure. Here’s an in-depth guide on building a sturdy and reliable foundation for your gazebo:
Marking the site and laying out the foundation
Before digging any holes, it’s important to mark out the site and lay the foundation properly. Here’s how to do it:
The process:
- Let’s say we’re creating a square gazebo for arguments sake.
- Choose the location for your gazebo. Ensure the site is level and free from obstructions such as tree roots or large rocks.
- Obtain a starting point and bash in a stake with your hammer.
- Measure the desired distance in one direction to give you your second corner. Bash a stake in there and then return to the first stake and measure out again to the third corner.
- By this stage, you should have a square shape to work from.
- Attach the stringline to the stakes and use it as a guide to help measure out the last corner to drive a stake in, forming a finished square
- Use a measuring tape to ensure that the distance between each corner is equal. Adjust the stakes and string until the perimeter is square and the corners are 90 degrees.
- Use a chalk line to mark the location of each post. Start at one corner and snap the chalk line across the perimeter to mark the position of the first post. Repeat this process for each post. (The average distance between each post footing for a gazebo is typically between 8 to 12 feet, depending on the size and design of the gazebo).
Tips for Ensuring Proper Alignment and Spacing:
- Use a level to ensure each post is plumb and level in all directions.
- Check the spacing between each post to ensure that they are evenly spaced.
Digging the holes
Ah, digging holes. This is where things start to get physical. Before you start digging, it’s a good idea to ascertain where your utilities are. The last thing you want is to dig into a gas line or electrical wire. At this stage, it’s a good idea to contact your local utility company to have them mark the location of any underground utilities.
Once you have that covered, it’s time to start digging. Use a post hole digger or auger to make the holes for the footings. Ensure the holes are deep enough to provide adequate support for your gazebo. The depth of the holes will depend on the size and weight of your structure.
As a general rule of thumb, the footing holes should be at least 18 inches deep and 12 inches in diameter. The holes may need to be deeper and wider for larger or heavier gazebos to provide adequate support.
Again, check with your local building codes and regulations to determine your area’s exact depth and width requirements. This will ensure that your gazebo is built to code and is safe for use.
Keep in mnd that digging can be hard work, so take frequent breaks and stay hydrated. And always remember to practice safe digging techniques. Don’t overexert yourself and be careful not to hit any underground utilities. Once the holes are dug, you’re ready to move on to the next step in building your gazebo.
Pouring the concrete footings
e necessary tools and materials you’ll need for this process as you’ll need to work fast enough so that the concrete doesnt dry out on you.
- Start by mixing your concrete according to the instructions on the bag. You want a mixture that isn’t too runny but not too dry. It should be easy to pour but not too soupy. You want to work with it without it running all over the place.
- Once your concrete is mixed, transfer it to the footing holes using a shovel or hoe. Fill the holes about 2/3 of the way full with the concrete.
- Use a level to ensure that the top of each footing is level and flush with the ground. You may need to adjust the height of the concrete by adding or removing some of it from the holes.
- If you’re building in an area with soft or sandy soil, you may want to add rebar or wire mesh to the footing holes for support.
- At this stage, you have 2 options. You can add your posts now or allow the concrete to cure for at least 24 hours before moving on to the next step. This will ensure that it’s fully hardened and ready to support the weight of your gazebo.
- If you add the posts in the concrete while it’s wet, push them down into the concrete and use your level to ensure they’re straight. Check both side to side each way and also with each of the other posts. Lining them up can be tricky, it’s best to use a stringline from each corner to ensure they are all in the exacts line required.
Installing the posts
Installing the posts is essential in building a sturdy and stable gazebo. So grab the required tools and materials and read on for the next step:
Tips for ensuring proper placement and alignment:
- If you added the posts in when the concrete was wet and waited the 24 hour dry time, you can skip the next step.
- If you plan on bolting the posts to the footing, make sure the concrete has been allowed enough time to cure. Use sturup or L brackets and line them up on each footing using a stringline through their centers.
- Drill bolt pilot holes and then screw the bolts into the brackets.
- Attach the posts to the brackets and use a level to ensure that the posts are vertical and aligned.
- Use a shovel to backfill the holes with soil and pack it down firmly.
Properly installed posts will provide the necessary support for the rest of the gazebo’s structure, so it’s important to take the time to ensure they are properly placed and aligned.
Step 3: Building the Floor and Roof Frame
Now that the foundation is in place, it’s time to start building the floor and roof frame. This step is crucial for ensuring the stability and durability of your gazebo.
Building the floor frame
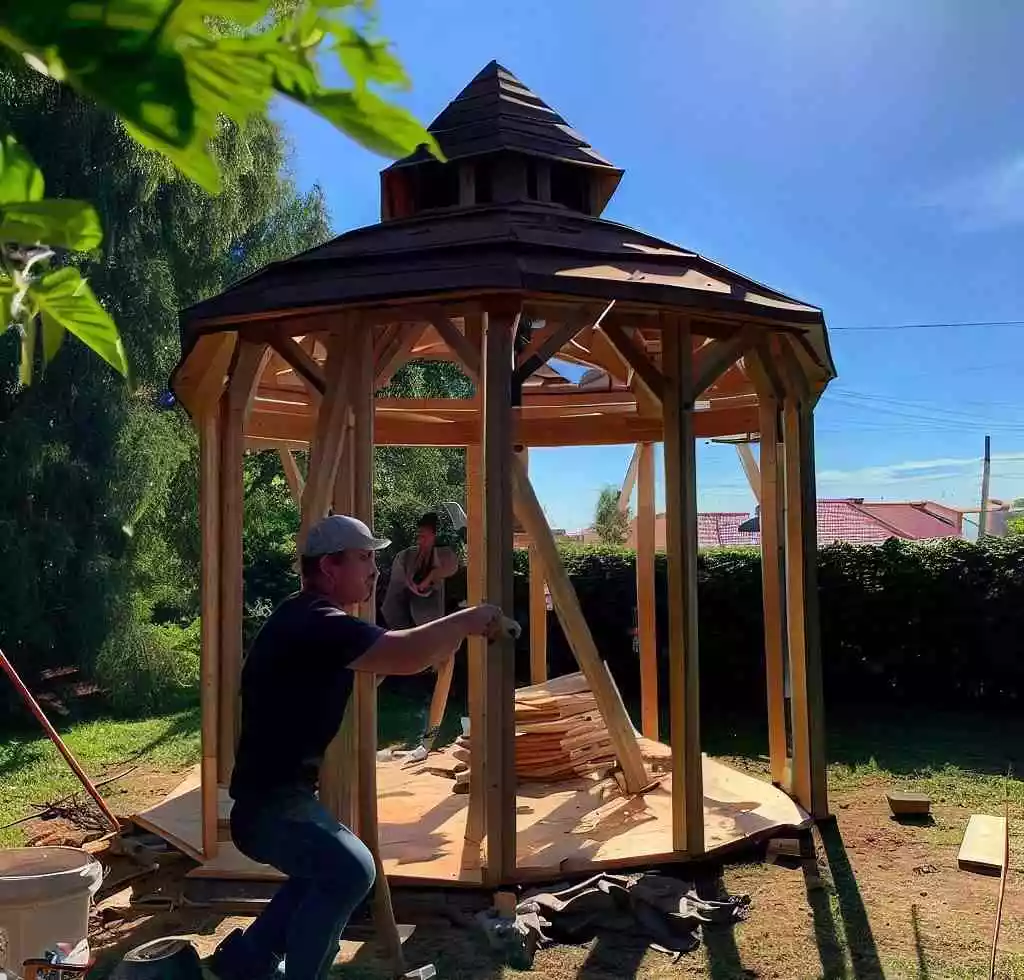
When building the floor frame, it’s important to ensure that it is strong and sturdy enough to support the weight of the gazebo and any furniture or people on it. Proper alignment and spacing is also crucial for both the aesthetics and safety of the gazebo Let’s have a look at how we frame the floor:
- First, measure and mark out the dimensions of your gazebo floor on the ground. Then, use the saw to cut the lumber to the appropriate lengths, accounting for any angles or curves in the design. Use brackets and screws to connect the lumber pieces. Create the outer perimeter first so you have an external frame to work off. Make sure to use the level to ensure the frame is level and square before continuing.
- Next, add the internal lengths using brackets and screws to form a floor with even centers. 200-300mm centers are ideal.
- You may want to add some extra lengths of timber at staggered intervals to give it some extra strength..
Installing the floor decking
Once the floor frame is complete, installing the decking is time. There are many different options for decking, including wood, composite, and even concrete. This is the part of the gazebo you’ll be walking on, so choosing high-quality, durable materials is important. Ultimately, choose a material that fits your style and budget.
Tips for selecting and installing decking materials:
- Choose materials that are weather-resistant and won’t warp or rot over time. This is especially important if your gazebo will be exposed to the elements.
- Measure and cut your decking materials to fit the frame of your gazebo. Make sure to leave a small gap between each board to allow for expansion and contraction due to temperature changes. You can use some plastic spacers or packers to help keep them even.
- Install the boards perpendicular to the floor joists for added stability.
- Use screws or nails to attach the decking boards to the floor frame. Make sure to countersink the screws or use hidden fasteners for a seamless look.
- Use a level to ensure the decking is installed evenly and doesn’t slope in any direction.
Building the roof frame
Building a roof frame is the initial step to providing shelter from the sun, rain, and other elements. Once this is installed, the roof can be added. Let’s have a look at the framing process:
Tips for ensuring proper slope and alignment:
- Start by measuring and marking where the roof will be installed.
- Cut the rafters to size and shape, ensuring they are all identical.
- Attach the rafters to the top of the gazebo posts with brackets and screws, ensuring they are level and square.
- Once all the rafters are attached, add support blocking between each rafter to ensure they remain evenly spaced.
- Next, you can either Install the ceiling material or wait until the roof is on. Leaving the ceiling bare for now is usually easier if you need to get inside the ceiling to fix anything with the roof. If you choose to insteal the ceiling material now, ensure it’s secured to the rafters and the support blocking.
- Finally, install the roofing material you choose, ensuring it’s properly aligned and attached.
Adding roof sheathing
Adding roof sheathing provides a solid base for the roofing material and adds to the structure’s structural integrity. The process involves laying large sheets of plywood or OSB (oriented strand board) onto the roof frame, which can be challenging and time-consuming.
First, measure and cut the sheathing sheets to fit the roof frame. Start at one end and work across the roof, overlapping each sheet and nailing it down securely with roofing nails. Following the manufacturer’s recommendations for spacing and nailing patterns is essential to ensure a strong and stable roof.
As you install the sheathing, paying attention to proper ventilation is essential. Adequate ventilation is crucial to prevent moisture buildup and ensure the structure’s longevity. Be sure to install vents or ridge caps as your roofing material manufacturer recommends.
Once you’ve installed all the sheathing, it’s time to add the roofing material you choose, whether it’s shingles, metal panels, or something else. Follow the manufacturer’s instructions carefully to ensure proper installation and waterproofing. Each material will vary inn its installation method.
Step 4: Installing the Roof and Siding
After all the major construction work is done, it’s time to add the finishing touches to the structure of your gazebo. These final touches can make the difference between a functional outdoor structure and a stunning centerpiece for your backyard.

Adding shingles or roofing material
When selecting roofing material, it’s important to consider factors such as durability, weather-resistance, and overall style. Asphalt shingles are a popular choice due to their affordability and ease of installation. Still, other materials such as metal or wood shingles can provide a unique look and added durability.
The Process:
- Once you have your materials, you can begin by laying down roofing felt over the roof sheathing to provide an additional layer of protection from moisture.
- Then, starting at the bottom edge of the roof, begin installing the shingles or other roofing material according to the manufacturer’s instructions. Be sure to overlap each row of shingles to ensure proper water drainage and avoid leaks.
- As you work your way up the roof, maintain proper alignment and ensure each row is level.
- Use roofing nails or a nail gun to secure the shingles in place, and be sure to add any necessary flashing around any joints or protrusions to prevent water from seeping in.
Proper installation and ventilation ensure a long-lasting and weather-resistant roof for your gazebo. It may be helpful to consult with a professional roofer if you’re unsure about any aspect of the installation process.
Adding siding or trim
A siding or trim can give your gazebo the extra bit of oomph it deserves! Before starting, it’s important to select the right siding or trim material that suits the design of your gazebo. Options include wood, vinyl, and metal, each with pros and cons.
For instance, wood siding provides a natural, rustic look, while vinyl and metal siding are more durable and require less maintenance.
Once you have selected the material, it’s time to begin installation. Start by measuring and cutting the siding or trim to fit the dimensions of the gazebo. It’s important to ensure that each piece is level and properly aligned to avoid gaps or unevenness.
When attaching the siding or trim, use nails appropriate for the material and the size of the installed pieces. Be sure to space the nails evenly and drive them in at an angle to ensure a secure hold.
Adding trim pieces can help enhance the look of your gazebo and cover up any gaps or seams in the siding. Trim can be installed around windows and doors, along corners and edges, and at the top and bottom of the gazebo. Use the same techniques for the siding, ensuring each piece is level and securely fastened.
Adding windows or screens
Adding windows or screens to your gazebo not only enhances its functionality but also adds to its aesthetic appeal. It allows you to enjoy the beauty of your surroundings while protecting you from the elements and allows natural light to engulf the inside of your structure. This process can be achieved by:
- First, selecting the appropriate materials and tools for this task. You’ll need window or screen frames, glass or screen material, screws or nails, a drill, and a saw.
- Then, measure the openings where you want to install the windows or screens and cut the frames to fit. Be sure to wear safety goggles and gloves when using power tools.
- Next, attach the frames to the openings using screws or nails. Make sure they are level and flush with the surrounding walls.
- Then, insert the glass or screen material into the frames and secure it with clips or spline.
Ensure the windows or screens are properly fitted to prevent drafts and provide adequate ventilation. Windows should have proper caulking to seal any gaps or cracks, while screens should fit snugly without any gaps. This will keep insects and debris from entering your gazebo while allowing fresh air to circulate.
Step 5: Adding Finishing Touches
After all the major components of your gazebo are in place, it’s time to add some finishing touches to complete the look and functionality of your outdoor structure.
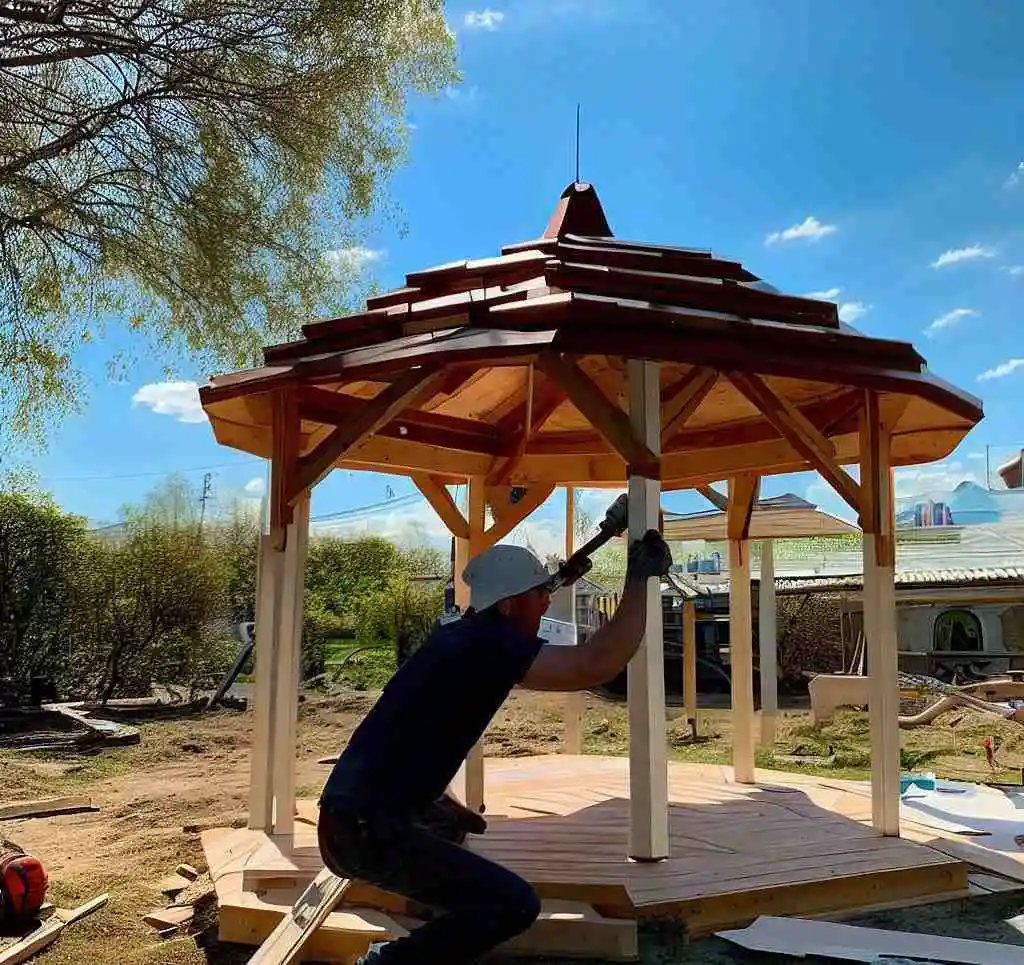
Adding lighting
Adding lighting to your gazebo can enhance its beauty and make it functional at night. Here’s some simple steps you can follow to add lighting to your gazebo:
- Plan the lighting design: Decide on the type of lighting you want, whether it’s overhead lighting, accent lighting, or task lighting. Consider the location of the light fixtures and the type of bulbs you want to use.
- Gather necessary tools and materials: This may include light fixtures, bulbs, wiring, wire cutters, and electrical tape.
- Install electrical wiring: If your gazebo is not already wired for electricity, you must install electrical wiring. It’s recommended that you hire a licensed electrician for this task.
- Install light fixtures: Once the electrical wiring is in place, you can start installing the light fixtures. Follow the manufacturer’s instructions carefully and ensure the fixtures are securely attached.
- Connect the wiring: Connect the wiring from the light fixtures to the electrical wiring in the gazebo. Use wire connectors to make secure connections.
- Test the lights: Once everything is installed, test the lights to ensure they are working properly.
When selecting lighting fixtures, ensure they are rated for outdoor use and designed to withstand the elements. LED lights are a popular choice for outdoor lighting as they are energy-efficient and long-lasting.
Adding seating or benches
One of the most enjoyable aspects of owning a gazebo is relaxing and spending time outdoors. To make your gazebo even more inviting, consider adding seating or benches.
There are a variety of options to choose from, including built-in benches, Adirondack chairs, and outdoor couches. Follow these tips for ease of installation:
- Choose durable and weather-resistant materials, such as cedar or pressure-treated lumber.
- Consider the style and size of your gazebo when selecting seating options. Built-in benches may work well in a smaller space, while a sectional couch may be better suited for a larger gazebo.
- Ensure that the seating is comfortable and functional. Consider adding cushions or pillows for added comfort.
- When building benches, anchor them securely to the gazebo floor or deck for safety.
Adding plants or landscaping
Adding plants or landscaping to your gazebo area can enhance its beauty and functionality. Here are some tips to consider when adding plants or landscaping to your gazebo:
Tips for selecting and planting appropriate vegetation:
- Consider your area’s climate and soil conditions when selecting plants for your gazebo area. Choose plants that are well-suited to your region for best results.
- Choose plants that match the style of your gazebo. For example, if you have a rustic-style gazebo, consider adding plants that complement that aesthetic.
- Consider the sunlight and shade in your gazebo area when selecting plants. Make sure to choose appropriate plants for the level of light they will receive.
- Consider the height and spread of the plants you choose. Ensure they won’t overcrowd the area or grow too tall and obscure the view from the gazebo.
- If you’re not sure where to start, you can always hire a professional landscaper or garden designer for advice.
Once you’ve selected your plants, it’s time to start planting. Follow these tips for best results:
- Prepare the soil by removing weeds or debris and adding fresh soil or mulch as needed.
- Dig holes for each plant, ensuring they are deep enough and spaced appropriately.
- Place each plant in its hole and backfill with soil, gently patting down the soil around the base of the plant.
- Water the plants thoroughly and regularly to promote healthy growth.
- Consider adding landscape lighting to showcase your new plants and create a beautiful ambiance in the evening.
How much does it cost to build a gazebo?
Let’s talk about the potential costs of building a gazebo. Factors like size, materials used, and any additional features you choose to include will all affect the bottom line..
If you’re building a wooden gazebo, you’ll need to purchase lumber, roofing materials, hardware, and possibly even decorative elements such as trim. The cost of these materials can add up quickly, especially if you opt for higher-quality or premium materials.
Secondly, if you’re not building the gazebo yourself, you’ll need to factor in the labor cost. This can vary depending on your location and the skill level of the builder you hire.
You may also need to factor in the cost of any permits required to build the gazebo and any fees associated with hiring a professional contractor. Finally, if you choose to include any additional features such as lighting, seating, or landscaping, these can also add to the project’s overall cost.
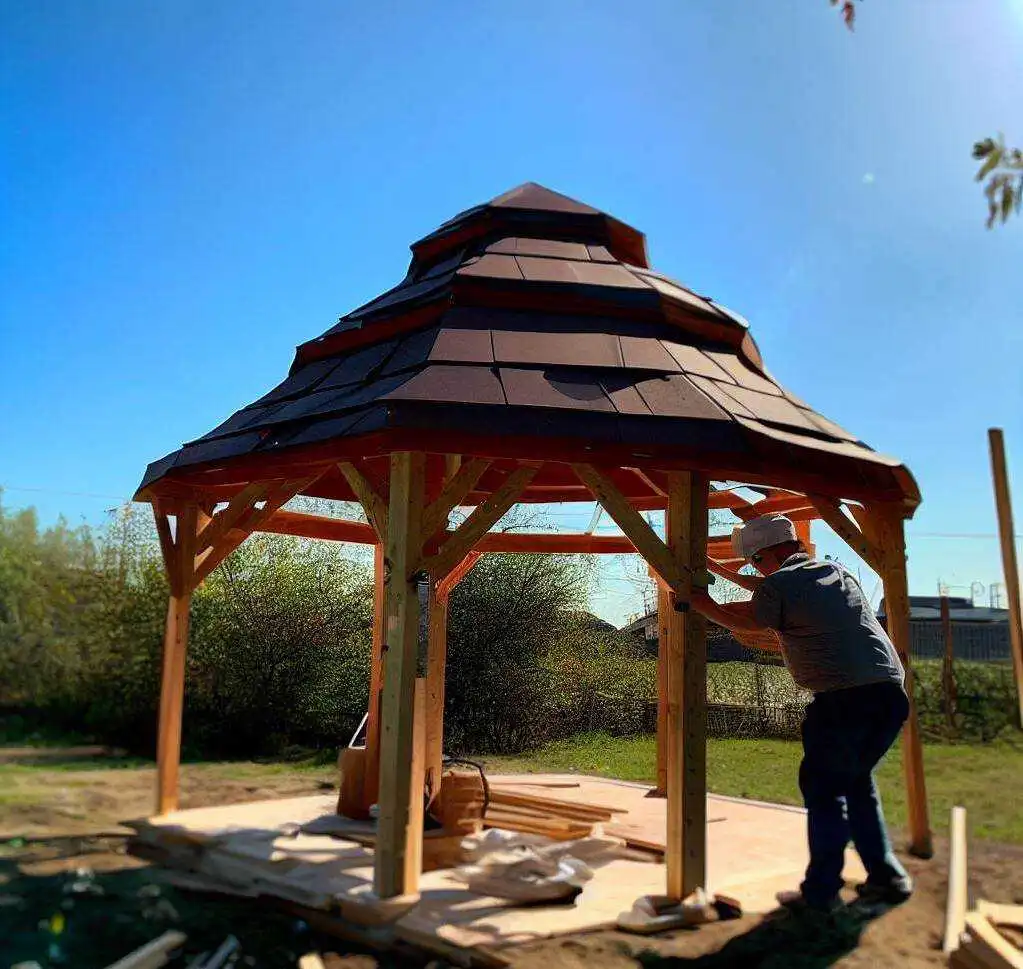
So, how much can you expect to spend on building a gazebo? Again, this can vary depending on a variety of factors. On average, you can expect to spend anywhere from $500 to $10,000 or more. A basic wooden gazebo can be built for around $500-$1,500, while a larger, more elaborate gazebo with additional features can cost upwards of $10,000.
It’s important to remember that the cost of building a gazebo is an investment in your home and outdoor living space. A well-built gazebo can provide years of enjoyment and add value to your property. So, while it may require a significant financial investment upfront, the benefits can be well worth it in the long run.
Pro Tips for Building a Gazebo
- Choose durable, weather-resistant materials: It’s best to opt for sturdy materials resistant to rot, warping, and pest infestations.
- Use a level and measuring tools to ensure accuracy: Accurate measurements and leveling are crucial for your gazebo’s structural integrity.
- Consider adding a screen or netting to keep bugs out: Nobody wants to be bothered by pesky bugs while relaxing in their gazebo. You want to simply enjoy the fresh air without the fuss.
- Plan for future maintenance and repairs: Like any other outdoor structure, gazebos require regular maintenance and repairs to keep them in good condition. Planning for future maintenance is essential, so you don’t have to worry about the cost and effort required to fix any issues.
- Consider hiring a professional for complex projects: Building a gazebo can be challenging, especially if you have little to no experience in carpentry. Hiring a professional can ensure your gazebo is built correctly and save you time and money in the long run.
Frequently Asked Questions (FAQs)
What is the average cost of building a gazebo?
The average cost of building a gazebo ranges from $500 to $10,000 depending on materials and size.
How long does it take to build a gazebo?
Building a gazebo can take anywhere from a few days to a few weeks depending on the complexity of the design and your level of experience.
Do I need to hire a professional to build a gazebo?
While hiring a professional is not required, it may be a good idea for complex projects to ensure proper construction and safety.
What type of wood is best for building a gazebo?
Cedar and redwood are popular choices for building gazebos due to their natural resistance to weather and insects.
Conclusion:
Building a gazebo can be a rewarding and fulfilling project that adds value to your outdoor living space. From choosing the right location and materials, to building the foundation and adding finishing touches, each step is important to ensure a sturdy and beautiful final product.
We encourage you to take on this project and have fun with it. Don’t forget to share photos and stories of your completed gazebo with friends and family. Thank you for reading our guide and checking our website for more helpful articles.

